


©2000-
Website Design by DESERT WEB MARKETING LLC.


Have a Product You think we should be using


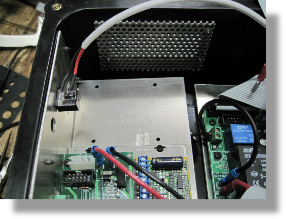
We made a couple of additions to the CNC controller case. We drilled a couple of holes for running some additional connections into the case. And we installed a stereo plug connection which will be used for the probing sensor to connect to the inputs on the case.
This view shows the stereo plug connection inside of the case.
The stereo plug is for the Wild Horse Innovations Econo plug to plug into. We then connected this to an unused input on the break out board.
We will have more detailed info on this connection and setup later in the build.
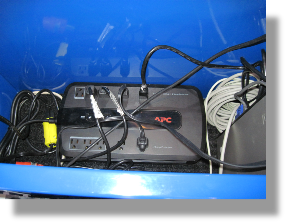
Here is a view of the UPS. We have the computer, and monitor setup for battery backup.
The rest of the components will run off just the surge suppressor. This is incase we have a power outage in the middle of a cut. The router will stop and the cnc machine will stop moving but we will have time to save our location before having a controlled shut down.
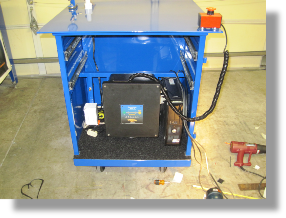
Lots of wiring and contentions to complete. Making sure the install is clean and organized takes awhile.
We got a coiled two wire cord to use for the emergency stop box.
The emergency stop box uses a simple e-
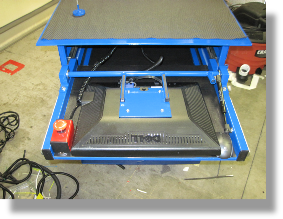
Here is a view of the monitor installed in the down position.
The Keyboard, mouse and e-
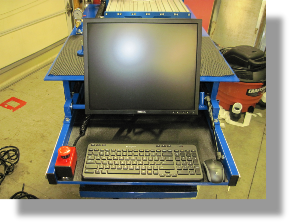
This view shows the monitor in the up position. With the e-
The gas strut lifts the monitor into place and holds it up during uses.