
©2000-
Website Design by DESERT WEB MARKETING LLC.


Have a Product You think we should be using


For configuring the software for this project we started off with a clean install of windows XP on our machine computer and loaded the custom installer from CandCNC. Which can be found here: http://www.candcnc.com/manuals.htm This installer installed Mach3 as well as the custom screens and configurations that are specific to our Bladerunner System.
CandCNC customizes Mach3 and its screens to work with the system. If you have used Mach3 before it will look a little different but functions the same. Its very easy to navigate and setup. Make sure you download the manual and follow the setup procedures outlined in the manual so that you do not miss any points along the way.
The Master Installer from CandCNC takes care of most of the settings that you need. But since every machine is a little different there are a few things that you need to do. One is to set up the motor tuning under the config menu. Here you need to tell the machine how to factor distance and speed based on your gears, drive motors and screws used to build the machine. CandCNC has detailed instructions on how to figure this out in the manual using math equations. For us Precision Plasma provided the information. Here is what our machine has:
X & Y -
Recommended Speed is 200 ipm or faster.
Z -
Recommended Speed is 100 ipm or faster.
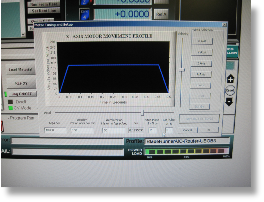
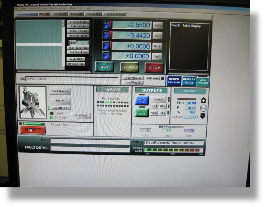
Mach3 Main Screen
There are a few other critical items you need to set up. You need ensure that you motor placement on the machine correspond to the correct port on the Bladerunner box. We have a three motor machine so we do not have an “A” Axis or slave axis to configure only an X, Y, And Z. In ports and pin output setting we disables our A axis.
Make sure that your motors rotate in the proper direction based on your setup. The rotation can be easily reversed using the ports and pins output tab.
We added home and limit switches to our machine which you can see the install and
more detailed set up at: Home & Limits the Mach3 software requires the setup of
these under the Config -
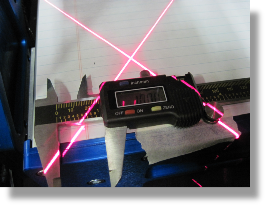
Once all of this was configured we tested the movement and used calipers to measure and confirm that your movement was accurate so when we told the machine to move an inch it moved exactly one inch.
Mach3 Controls our movement using G-
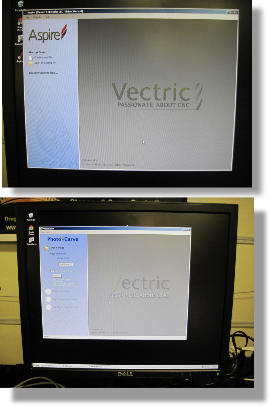
We are using Sheetcam, Aspire, and Photo V Carve. Sheetcam is our basic 2D CAM software
which we use a lot for Plasma cutting but also works great for simple 2D objects
that have less detail in the 3rd Dimension. Aspire is going to be where we create
our CNC Modeling and Machining in the 2.5 -
The configuration and loading of these programs is simple and straight forward. All require a license to be purchased for there unlimited use but trials are available. In Sheetcam we also configured the machine setup for English units, and set up the dimensions of our table and work area by simply typing in the numbers.
Sheetcam has a PDF manual which you can download from their site which I recommend. Aspire and Photo V Carve both come with PDF Manuals and tutorials on the install CD’s.