


©2000-
Website Design by DESERT WEB MARKETING LLC.


Have a Product You think we should be using


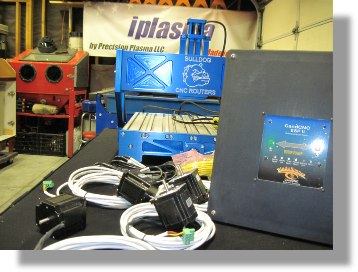
We got the Controller package in from CandCNC. We went with the BladeRunner package with the 300 oz steppers. Which is the same as we use on our CNC Plasma Machine. If our CNC router was as big as our plasma machine we would need much larger steppers, due to the fact that with the router our tool touches the work where as in plasma there is no contact between the tool and what's getting cut.
We were a little surprised with the steppers. They are a double shaft version. We did not specially request them. There is no real difference except that they have a secondary shaft coming out the back side. So suggestions on the web indicated adding a thumb knob on the back shaft would allow for some fine adjustments by hand if needed.
So went to Ebay and found some basic thumb knobs with ¼ shaft and set screws to add to the steppers. (Photos when they arrive)
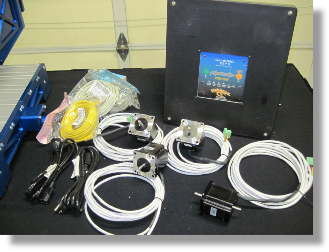
Our system came with 4 steppers we only need 3 due to the size of the machine but having an extra stepper will be good to have in case we upgrade down the road.
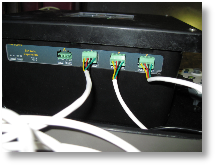
The package came with everything that we needed to hook up the system. Including our parallel and serial cables, power cable for the controller and a power cable to power up the auxiliary outlets. 4 steppers wired and ready to be plugged in.
All of the system software can be downloaded for free from the CandCNC website. The
system uses MACH3 for controlling the movement in the G-
With MACH3 to get the full version you will need to purchase a license. We will also be installing Sheetcam on the system PC.
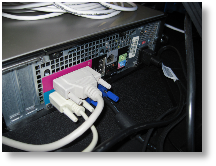
The hookup could not be easier.
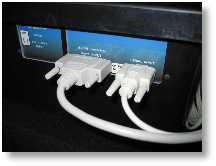
All we needed to do was to hook up the parallel and serial cable between the BladeRunner and the computer. Then plug in the steppers as they correspond to where we placed them on the machine. Plug in the power cord and away we go.
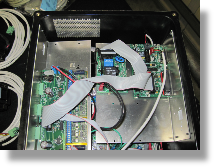
Here is a look inside. Just in case you ware curious. There is very little need to venture inside the box. Later when we hook up our home and limit switches later we will make a couple of simple connections inside of here.
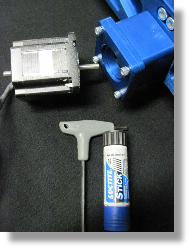
Attaching the steppers to the Bulldog router was very easy as well. A 4mm allen and some loctite is all that was needed. I highly recommend using loctite on all fasteners including the set screws for securing the shafts to prevent loosening in the future. The blue version seems to work very well.
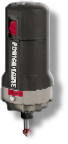
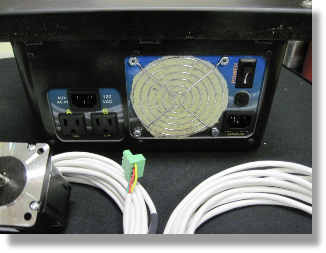
The BladeRunner box has two power in connections. One for the box and one that controls the 2 Auxiliary outputs.
The case has a power switch and filtered fan intake.
The auxiliary outlets is where we will plug in our router. We will cover the hook up and control later.
Coming Up -