Clear or Translucent filament is not available currently from XYZPrinting, but there is a way to use it in your Da Vinci 1.0. Translucent filament is a great tool and can be useful in many projects. Because the Da Vinci has an optical filament sensor in the extruder which can not see the translucent filament and will not load or use it Here is what you need to do to use it in your machine.
Note: Once you do this you will still be able to print all of the other filaments like normal the only catch is that if you run out of filament the machine will not know it and will keep trying to print.
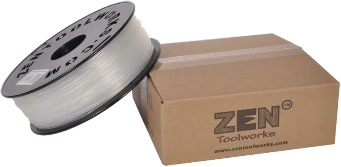
The translucent filament I used was from Zen Toolworks item: [ZTW-3DP-175P] If you have Amazon prime purchase it there for the best deal. Others may work but I used this brand and got what I consider very good results without changing any heat settings.
Tools Needed to Complete the Task:
Wire Cutters (for zip tie, not wires)
Torqs #10 bit
Electrical tape
Replacement zip tie.
Step #1
Use the control panel in the Da Vinci to unload the filament
if you have any loaded in the extruder.
Step #2
Take a break and let the extruder Cool Down
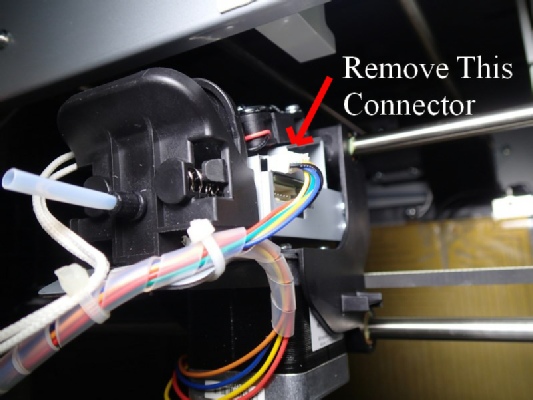
Step #3
Remove the wire connector on the Right side of the extruder:
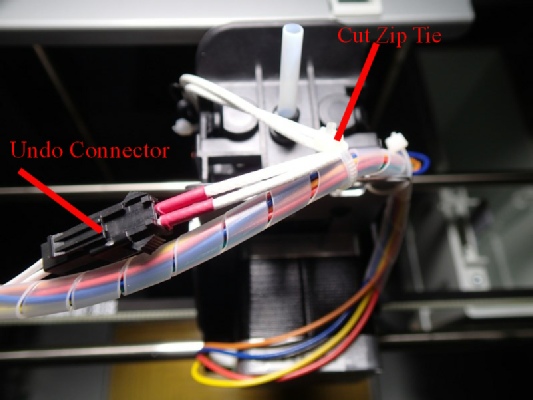
Step #4
Cut Zip tie and Undo the connector shown:
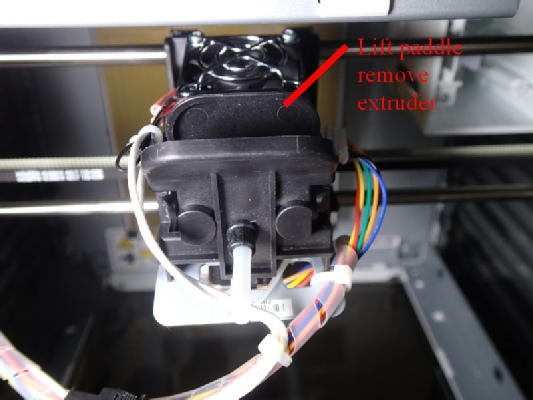
Step #5
Lift up on Plastic Spring loaded paddle and
Remove the extruder nozzle unit.
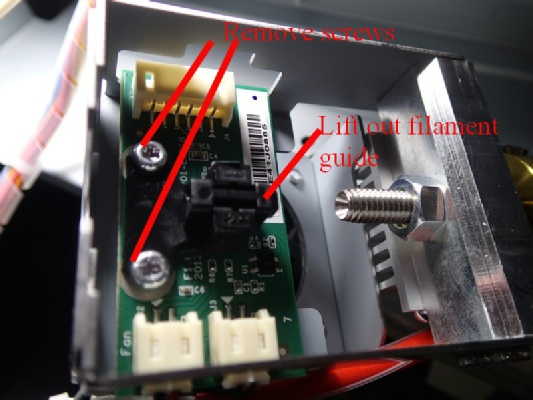
Step #6 With the extruder unit removed -
Remove the two T-10 Screws and lift out
The plastic filament guide.
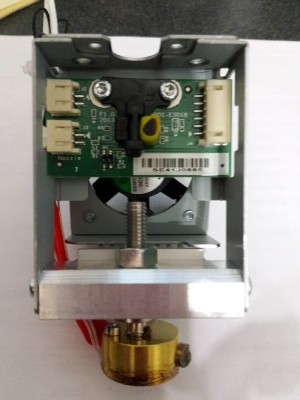
Step #7 With the guide out of the way
Place electrical tape around each of the
Two posts. There is not much room so it can only
be one layer thick. I used Silicone “Rescue Tape” the first time and the light made it through and it did not work. The electrical tape worked for me.
Carefully reinsert the filament guide making sure not to move the electrical tape. Now reassemble everything and you will be good to go. Dont forget to replace the zip tie you cut. You can print a spool holder and leave a filament cartridge in the machine and feed from the stool or use and empty cartridge that has been reset and load filament into that cartridge.